Introduction
Can lights, also known as recessed lights, are popular lighting fixtures that are commonly used in homes, offices, and commercial spaces. They are a great way to add extra light to a room without taking up precious floor or table space. The sleek design of can lights also adds a modern and sophisticated touch to any space.
In this article, we will delve deeper into the world of can lights, exploring their history, types, benefits, installation process, and maintenance.
History of Can Lights
Can lights have been around for over half a century. They were first introduced in the late 1950s by the Swedish lighting company Fagerhult. At that time, can lights were primarily used in commercial spaces such as offices, showrooms, and restaurants.
In the 1970s, can lights gained popularity in residential homes due to their versatile design and ability to create a spotlight effect. Since then, can lights have evolved to become more energy-efficient and stylish, making them a popular choice in modern homes and offices.
Types of Can Lights
Can lights come in various types, including:
Fixed Can Lights:
These are the most common types of can lights. They are stationary and cannot be adjusted once installed. They are perfect for illuminating specific areas in a room. Fixed can lights can be installed in ceilings and walls.
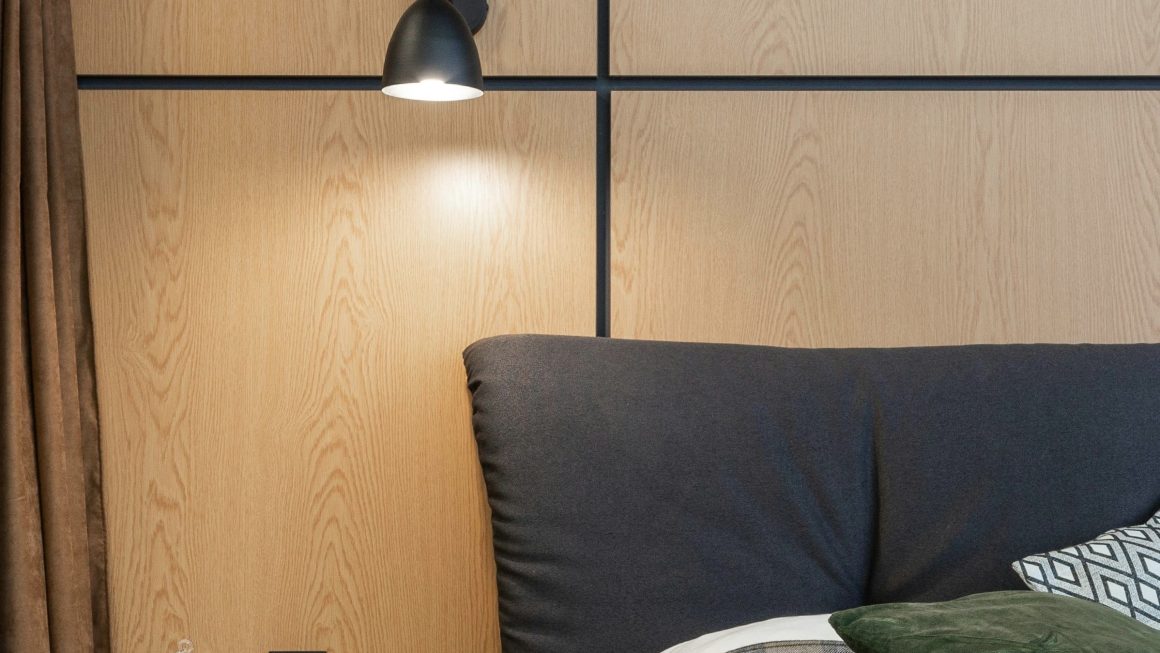
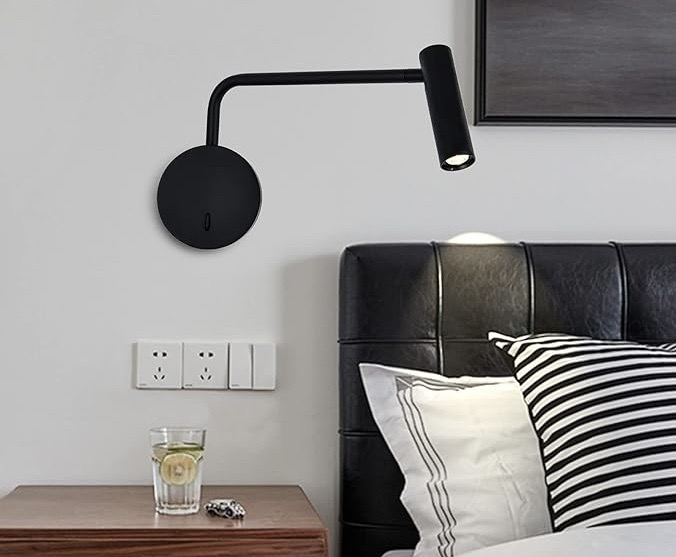
Adjustable Can Lights:
As the name suggests, adjustable can lights can be aimed in various directions so that you can control the direction of the light. They are ideal for highlighting artwork, bookshelves, or other specific features in a room.
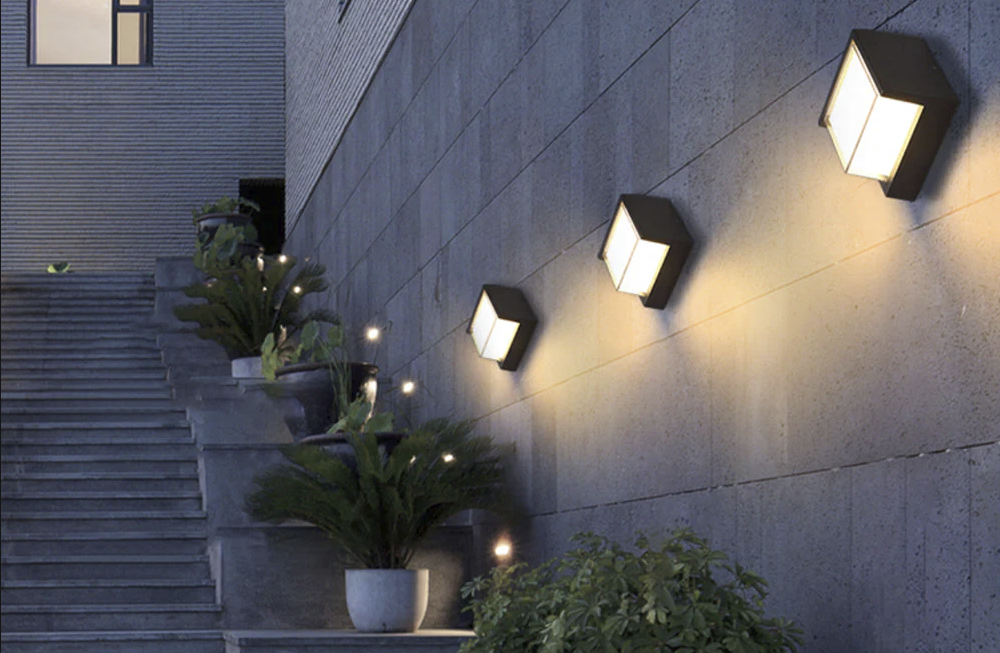
Wall-Washing Can Lights:
Wall-washing can lights are designed to provide indirect lighting. They are installed in a way that creates a soft glow along the walls and ceiling of a room. They are perfect for creating a relaxing ambiance in a living room or bedroom.
Benefits of Can Lights
Can lights offer several benefits, including:
Energy Efficiency:
Can lights are energy-efficient compared to other types of lighting fixtures. They use less energy and yet provide powerful illumination, making them a great choice for homeowners who want to save money on their electricity bills.
Space-Saving:
Can lights are installed directly into the ceiling or wall, which means they take up no floor or table space. This makes them a great choice for small living spaces where space is at a premium.
Modern Design:
Can lights have a modern and sleek design that can add a sophisticated touch to any space. They come in various colors, shapes, and sizes, making them a flexible choice that can match any design style.
Installation Process
Installing can lights requires some basic knowledge of electrical wiring and a few essential tools. Here is a step-by-step guide to installing can lights:
Step 1: Choose the Right Location:
Before installing can lights, you need to choose the right location. It is best to install them in areas where you need extra light or where there is limited space.
Step 2: Cut the Hole:
Using a hole saw or a drywall saw, cut a hole in the ceiling or wall where you want to install the can light. Be sure to measure the size of the hole to match the size of the can light you are installing.
Step 3: Install the Fixture:
Insert the can light fixture into the hole and secure it with clips, springs, or adjustable arms.
Step 4: Connect the Wiring:
Connect the wiring to the fixture according to the manufacturer’s instructions. This requires some knowledge of basic electrical wiring, so it is best to consult a professional if you are unsure.
Step 5: Attach the Trim:
Attach the trim (the visible part of the light) to the fixture to complete the installation process.
Maintenance and Cleaning
Can lights require minimal maintenance and cleaning. Here are a few tips to keep your can lights looking and working their best:
Clean the Trims:
Dust and debris can accumulate on the trims of can lights, which can diminish their appearance and reduce their effectiveness. Use a soft cloth or a vacuum attachment to clean the trims regularly.
Replace Old Bulbs:
Over time, the bulbs in can lights can become dim or burn out. Replace old bulbs with new ones to maintain the brightness and effectiveness of your can lights.
Maintain the Wiring:
Make sure the wiring for your can lights is in good condition and free of damage or wear. This will help prevent any electrical issues and ensure that your can lights work safely and effectively.