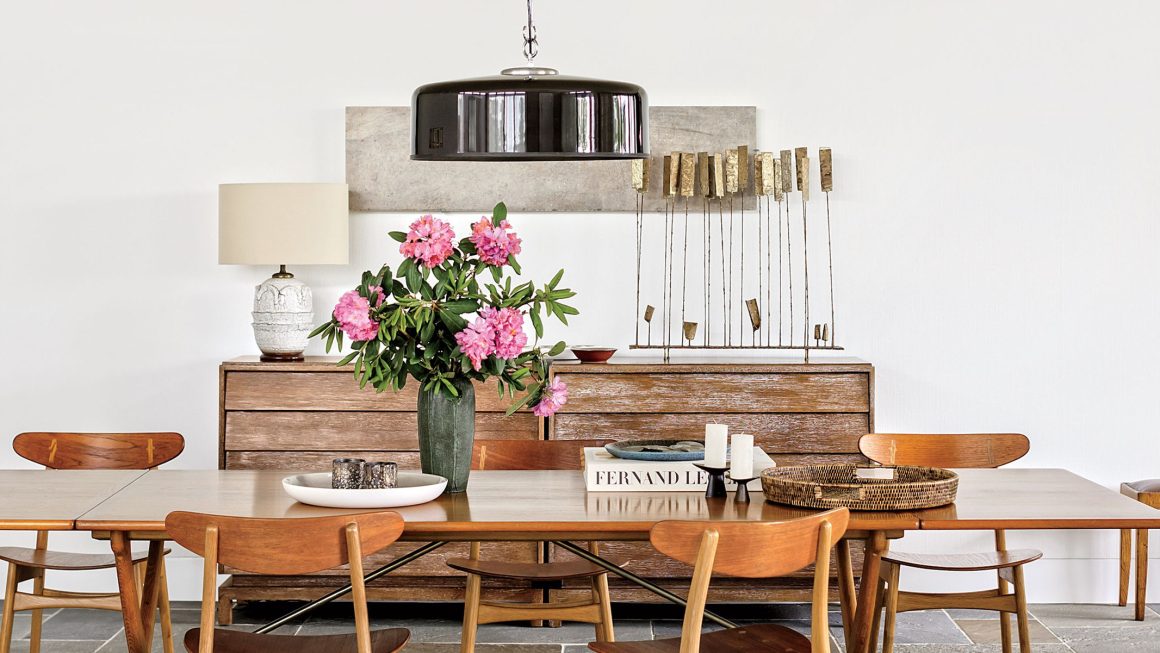

The Benefits of DIY Lamps
Lighting is an essential element of any living space. A well-lit room can make all the difference, creating a warm and inviting atmosphere. However, when it comes to lighting fixtures, the options can be overwhelming, and that’s where DIY lamps come in. Here are some of the benefits of making your own lamp:
Creative expression
Making your own lamp allows you to unleash your creativity and create a unique piece that reflects your style and personality. You can experiment with different colors, textures, and materials to create a one-of-a-kind lamp that will add character to your home.
Cost-effective
Buying a lamp from a store can be expensive, especially if you want a high-quality piece. On the other hand, making your own lamp can be much more cost-effective. You can use materials that you already have on hand, such as old jars, bottles, or vases. You can also repurpose items that are no longer in use, such as old lampshades or light fixtures.
Eco-friendly
Making your own lamp is also an eco-friendly option. By reusing old items or repurposing materials, you are reducing waste and giving new life to items that would otherwise be discarded. You can also choose energy-efficient light bulbs that will save energy and reduce your electricity bill.
How to Make a Homemade Lamp
Now that you’re convinced of the benefits of making your own lamp, here are some simple steps to follow:
Step 1: Gather materials
The first step is to gather all the materials you need. This will depend on the type of lamp you want to make. Some common materials include:
– Glass jars, bottles, or vases
– Lampshade
– Lamp base
– Light bulb
– Lamp cord
– Glue
– Scissors
– Wire
– Pliers
Step 2: Prepare the materials
Once you have all the materials, it’s time to prepare them. This may involve cleaning or sanding the glass jar, cutting the lampshade to size, or wiring the lamp cord.
Step 3: Assemble the lamp
The next step is to assemble the lamp. This will depend on the type of lamp you are making. For example, if you are making a table lamp, you will need to attach the lamp base to the lampshade and wire the lamp cord.
Step 4: Test the lamp
Once you have assembled the lamp, it’s time to test it. Plug in the lamp and turn on the light switch to make sure it works.